 RetailOS · Usage Guide
Usage Guide — Retail OS
How to use the whole system: what each user type sees, how to set it up, and every end-to-end flow — plus a detailed guide to installing the POS as an offline app.
Need field-by-field detail? See the User Manual — every form's fields and how they connect. This guide covers flows and setup; the manual covers forms and fields.
Base URL:https://goretailos.comEvery path below is a clickable link to the live app. Admin links work as-is once you're signed in. Storefront links contain a shop slug (/store/<shopSlug>/…) — replace<shopSlug>with your own store's slug.
The three apps, one codebase
| App | Entry point | Who |
|---|---|---|
| Staff / back office | /auth → /admin | Shop team (by role) |
| POS terminal | /admin/pos | Cashiers, managers |
| Customer store | /store/<shopSlug> | Customers and guests |
The admin and POS share a login; the storefront is public. All three are multi-tenant: every record is scoped to a shop, and the server enforces that scope regardless of what the UI shows.
1. User types and visibility
Roles are assigned per shop in Administration → Team & Roles (/admin/team). One person can belong to several shops with a different role in each and switch between them from the header shop-switcher.
| Feature · link | Owner | Admin | Manager | Cashier | Accountant | Inventory | Staff |
|---|---|---|---|---|---|---|---|
Dashboard /admin | ✅ | ✅ | ✅ | ✅ | ✅ | ✅ | ✅ |
Point of Sale /admin/pos | ✅ | ✅ | ✅ | ✅ | — | — | — |
Sales /admin/sales | ✅ | ✅ | ✅ | ✅ | — | — | — |
Sales Reports /admin/sales-reports | ✅ | ✅ | ✅ | — | ✅ | — | — |
Registers & Cash /admin/registers | ✅ | ✅ | ✅ | ✅ | — | — | — |
Orders & Returns /admin/orders | ✅ | ✅ | ✅ | ✅ | ✅ | — | ✅ |
Offline Sync /admin/sync | ✅ | ✅ | ✅ | ✅* | — | — | — |
Products & Variants /admin/products | ✅ | ✅ | ✅ | — | — | ✅ | — |
Import Data /admin/import | ✅ | ✅ | ✅ | — | — | ✅ | — |
Barcodes & Labels /admin/labels | ✅ | ✅ | ✅ | — | — | ✅ | — |
Stock & Movements /admin/inventory | ✅ | ✅ | ✅ | — | — | ✅ | — |
Transfers /admin/transfers | ✅ | ✅ | ✅ | — | — | ✅ | — |
Stock Counts /admin/stock-counts | ✅ | ✅ | ✅ | — | — | ✅ | — |
Inventory Reports /admin/inventory-reports | ✅ | ✅ | ✅ | — | — | ✅ | — |
Suppliers & POs /admin/purchasing | ✅ | ✅ | ✅ | — | ✅ | ✅ | — |
Purchase Reports /admin/purchasing-reports | ✅ | ✅ | ✅ | — | ✅ | ✅ | — |
Accounting /admin/accounting | ✅ | ✅ | ✅ | — | ✅ | — | — |
Storefront editor /admin/storefront | ✅ | ✅ | ✅ | — | — | — | — |
AI Business Assistant /admin/ai | ✅ | ✅ | ✅ | — | — | — | — |
Team & Roles /admin/team | ✅ | ✅ | — | — | — | — | — |
Audit Log /admin/audit | ✅ | ✅ | — | — | — | — | — |
Shop Settings /admin/settings | ✅ | ✅ | — | — | — | — | — |
Data Manager /admin/data-manager | ✅ | ✅ | — | — | — | — | — |
* The sync console resolves conflicts only for owner / admin / manager; cashiers see sync status in the POS session bar but do not resolve variances.
Branch binding — staff can be bound to a specific branch and can only act on that branch's registers, stock and orders. Menu items you cannot access are hidden, and the server rejects the action even if the URL is typed manually — visibility is never the only line of defence.
Customers and guests never see the admin app. They use the storefront: browse, search, cart, checkout (as guest or signed in), track an order, and chat with the AI Salesman. Signed-in customers also get the account portal: profile, saved addresses, order history and wishlist. A single customer login can have independent relationships with several shops without leaking data between them.
2. Getting started (first run)
- Open
/authand sign up with email/password or Google. - If email confirmation is enabled, confirm via the link sent to your inbox (see §3 for the email-delivery requirement), then sign in.
- You land on
/onboarding: enter shop name, currency, timezone and default language. - Provisioning automatically creates: a branch, a register, an inventory location, a chart of accounts, payment methods, a default tax rate, document sequences, AI permissions, storefront settings, and starter policy pages.
- You are the owner. Invite colleagues from Team & Roles (
/admin/team); they receive an invitation link (/invite/<token>), valid for 14 days, that must be accepted from the same email address it was sent to. Acceptance assigns the chosen role — each person holds exactly one role per shop, so re-inviting an existing member simply updates their role. Revoked, expired or already-accepted invitations stop working immediately.
3. Authentication & accounts
The admin and storefront share Supabase Auth but land users in different places.
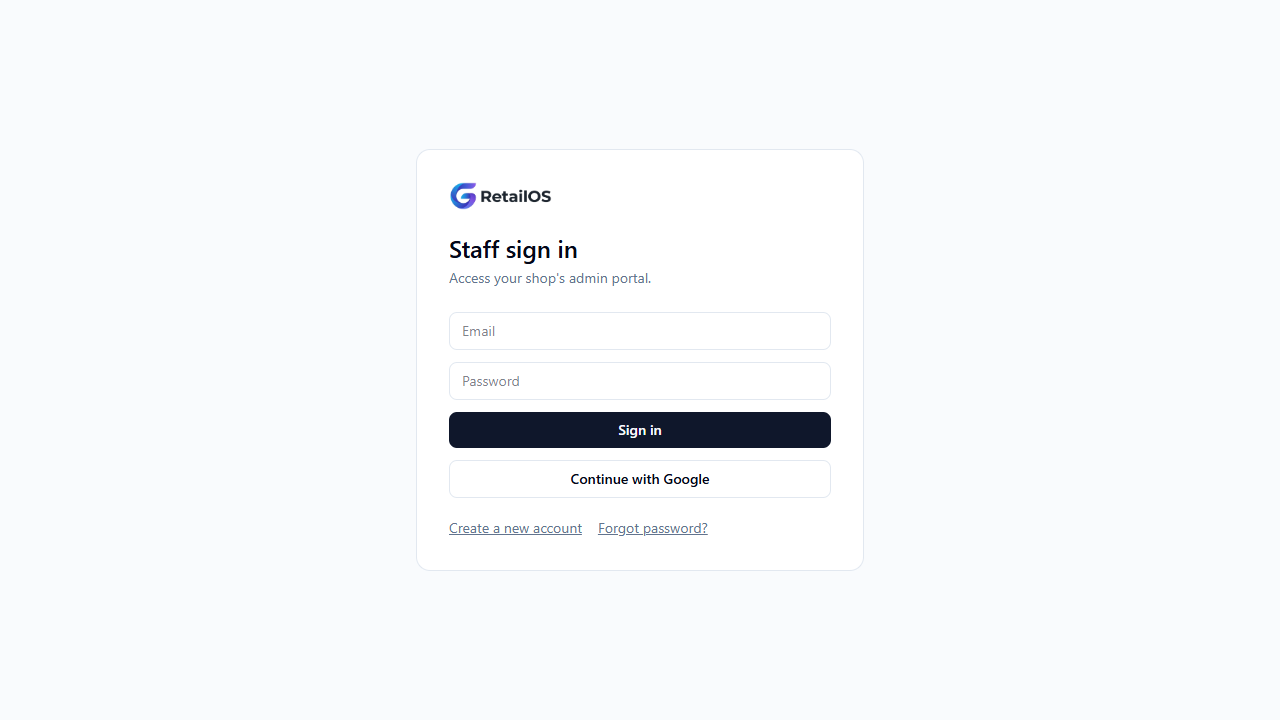
- Sign up — email/password or Google. Admin sign-up at
/authstarts onboarding; storefront sign-up at/store/<shopSlug>/sign-upassociates the customer with that shop. Duplicate emails are detected and reported ("already registered") rather than silently failing. - Email confirmation — if enabled, a confirmation link is emailed on sign-up. A "Resend confirmation email" action is available on the sign-in screen if it didn't arrive.
- Sign in — distinguishes invalid credentials from email not confirmed so users get an accurate message. Sessions persist across reloads and app restarts.
- Password reset — "Forgot password?" (admin sign-in, and storefront
/store/<shopSlug>/forgot-password) emails a recovery link that opens the dedicated/reset-passwordscreen, where the user sets a new password and is returned to sign-in. - Google OAuth — on the storefront, OAuth returns to the store's own sign-in URL and then forwards to the account page, so customers stay inside the correct shop.
Email delivery requirement. Confirmation, magic-link and password-reset emails only arrive reliably once a custom SMTP sender is configured for a domain you own (Supabase → Authentication → SMTP Settings). Until then, mail goes through the shared default sender, which is heavily rate-limited and often silently dropped. Configure your own domain + SMTP provider before relying on account emails in production.
4. Admin portal tour
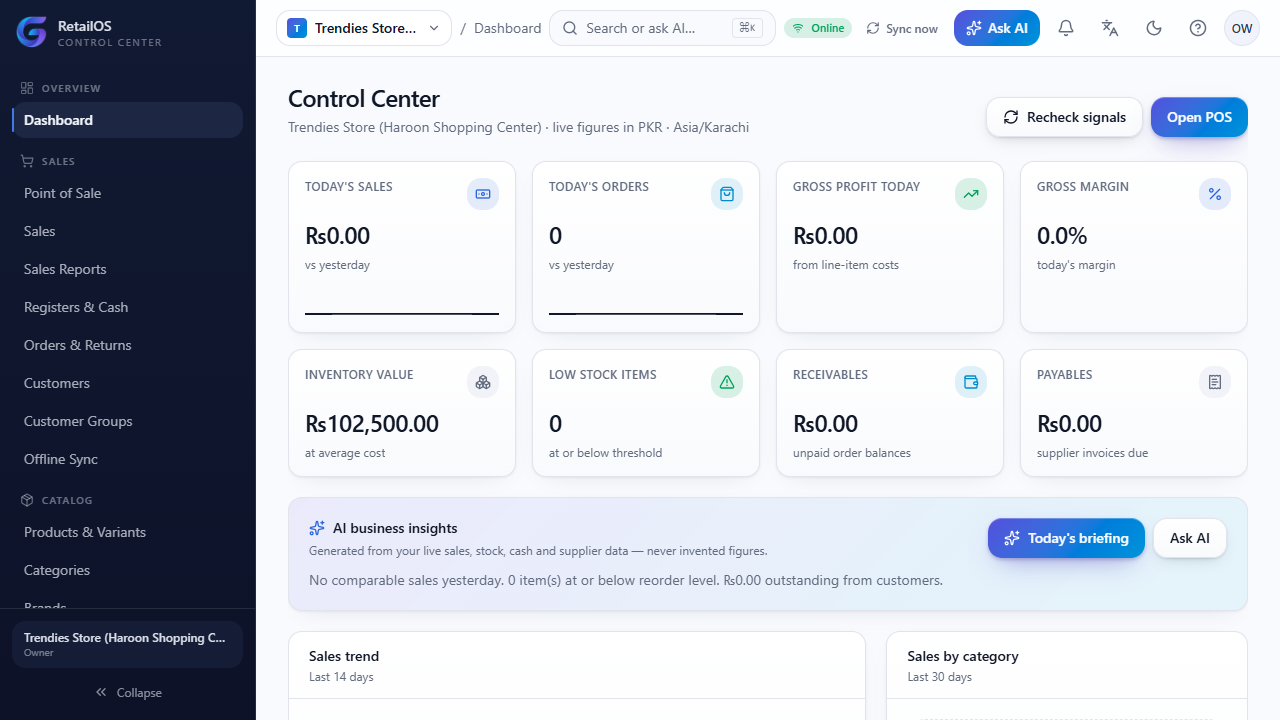
Top bar — shop switcher, branch switcher, global search / ⌘K, notification bell (low stock, new orders, overdue receivables), AI shortcut, language, light/dark toggle, help, and profile menu. The bar is fully responsive: on narrow screens the shop and branch names truncate, the search collapses to its icon, and secondary controls fold away by breakpoint so nothing overflows.
Sidebar — collapsible groups: Overview, Sales, Catalog, Inventory, Purchasing, Accounting, Storefront, AI, Administration. On phones and tablets it becomes a slide-in drawer opened from the hamburger button; the POS terminal has no admin drawer at all.
⌘K command centre — jump to any page, or ask the assistant a question inline ("how did we do this week?", "what's low on stock?").
Dashboard (/admin) — KPI cards with trends (sales, orders, gross profit, margin, inventory value, low stock, receivables, payables), a 14-day sales area chart, a category-mix donut, profitability bars, an AI insight panel, and an alert centre listing what needs attention today.
Light / dark theme — toggled from the top bar and persisted per user. Admin theming is fully isolated from the storefront: admin dark mode never bleeds into a customer's store.
Every admin table has a mobile card layout — no horizontal scrolling on a phone.
5. Catalog flows
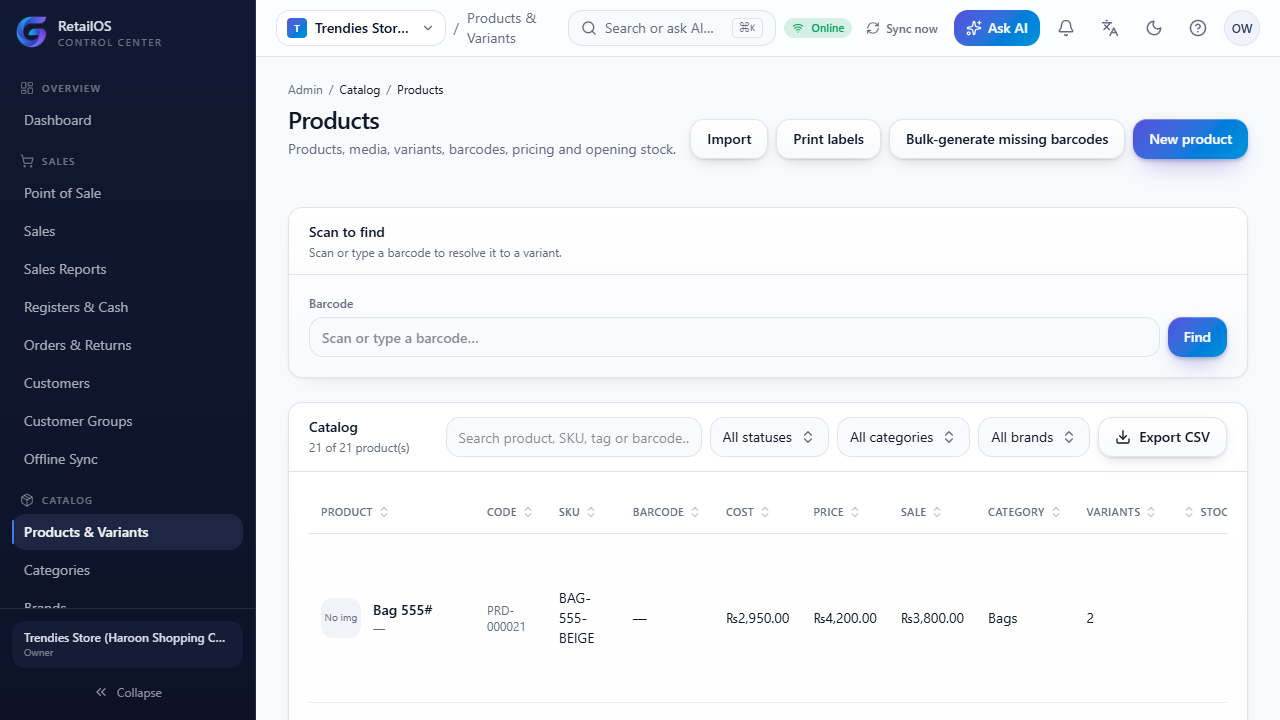
Create a product — Products & Variants (/admin/products) → New product: name, category, brand, product-level tax rate, SKU, cost, opening stock, and a published toggle.
Available for sale — products, categories and brands each carry an "Available for sale" toggle (default on; shown as a "For sale" status in the admin lists). Turn it off for internal-only items — raw materials, packing supplies, an internal "Packing" category, a supplier-only brand — to keep them out of both the online store and POS product search, while they stay fully usable in inventory, purchasing and admin. It's separate from the Active/archive flag: archiving hides an item everywhere (including product selectors), whereas "Available for sale" off keeps it internally usable but not sold.
Variants — open the variant builder, define attributes (e.g. Size × Colour) — pick an existing attribute from the combobox or type a new name and press Enter to create it inline; the matrix generates each combination with its own price, SKU and stock. Cost prices live in a separate table and never reach the public storefront.
Barcodes — generate an EAN-13 (check digit computed) or a SKU-based CODE128 per variant. Multiple active codes per variant are allowed and unique per shop. Use the scan field on the products page (and in POS) to jump straight to a variant.
Labels — Barcodes & Labels (/admin/labels): pick variants and a layout (40×30, 50×25 and others), then print the sheet.
Bulk import — Import Data (/admin/import): upload CSV/XLSX, map columns, review validation and a preview, then commit. Imports cannot cross shop boundaries.
Supporting master-data pages: Categories (/admin/categories), Brands (/admin/brands), Attributes (/admin/attributes), Tax rates (/admin/tax).
6. Selling — POS
Open Point of Sale (/admin/pos). The terminal is a dedicated full-screen retail workspace — no admin sidebar or drawer.
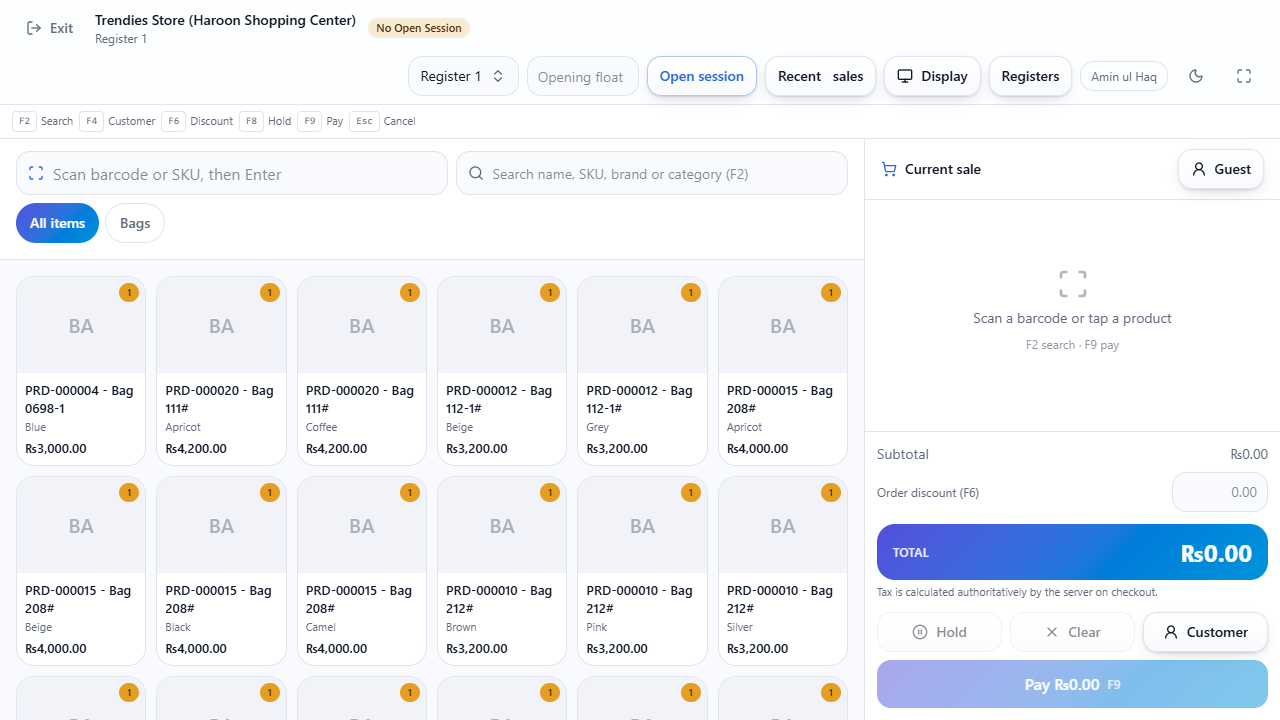
- Session bar — pick a register and open a cash session with an opening float. Register/branch, cash-session state, and the online/offline + sync badges all live here.
- Find items — keep the scan field focused and scan, or use fuzzy search (name / SKU / brand / category / barcode) with arrow keys + Enter, or tap the product grid filtered by category chips. Stock badges are live.
- Cart — quantity steppers, per-line discounts, an order-level discount, attach a customer, and hold / resume sales. On mobile the cart is a slide-in sheet with a sticky total.
- Pay (F9) — choose payment methods from large tiles and add unlimited split rows; allocated, remaining and change due are calculated live. Complete the sale. Credit (udhaar / pay later): tick Credit sale to complete with a partial or zero tender: an attached customer is required, the balance is booked to Accounts Receivable, and the customer's credit limit is enforced (a manager can override). Credit sales are online-only and server-validated (never queued offline). Turn the feature on and choose which roles may use it in Settings → Customers & credit.
- Receipt — print a 58 mm or 80 mm thermal receipt (plain-text, ESC/POS-style layout, with a browser print fallback). Reprints are available from the order.
- Cash movements — record cash in/out during the shift; close the session with counted cash and review the variance. Manage registers and cash sessions at
/admin/registers.
Keyboard shortcuts: F2 search · F4 customer · F6 discount · F8 hold · F9 pay · Esc cancel.
The Point of Sale prices tax on-screen — each line uses its product's tax rate, or the shop's default, inclusive or exclusive — so the total the cashier sees and collects equals what the server posts; the server still re-validates every sale authoritatively at checkout. For every completed sale the system posts inventory movements, the payment, revenue, tax, and COGS, with a balanced journal entry (debits = credits).
Overselling (negative stock) — selling past the available quantity is permitted only for the roles listed in Settings → Inventory ("Who can oversell"); everyone else is blocked when stock would go negative.
Sales list and payments
The Sales screen (/admin/sales) lists every counter and online sale with channel, status, payment status, total and outstanding balance, filterable by paid / partial / unpaid. Open a sale for full detail — line items, tenders, totals, paid vs outstanding, cashier and register, and any returns. For a credit or partially-paid sale, Record payment takes a follow-up payment against the balance and updates receivables automatically.
Sales Reports (/admin/sales-reports) — pick a report (summary, by day, product, category, brand, payment method, channel, cashier, register, branch, tax, returns) and a date range, then Print or export CSV. Figures are server-side aggregates.
Returns and refunds
From Orders & Returns (/admin/orders), open an order, select the lines to return, choose whether to restock, and issue the refund. Inventory and the ledger are posted automatically.
7. Installing the POS as an offline app (PWA)
Retail OS is a Progressive Web App. Installed on the till device, the POS keeps selling through Wi-Fi drops and syncs automatically when the connection returns. This section is the full setup and operating guide.
7.1 Requirements
- Served over HTTPS — the live app at
https://goretailos.comqualifies (a secure context is required for service workers). - A modern browser: Chrome or Edge on Windows/macOS/ChromeOS/Android, or Safari on iPad (Add to Home Screen).
- The signing-in user must have a POS-capable role (Owner, Admin, Manager or Cashier).
- Enough device storage for the cached catalog; keep the till device on a stable clock (timestamps drive offline ordering).
7.2 Install the app
Desktop (Chrome / Edge)
- Open
https://goretailos.com/adminand sign in. - Click the install icon in the address bar (or ⋮ menu → Install Retail OS / Apps → Install this site as an app).
- Confirm. The app opens in its own standalone window and gets a desktop/taskbar icon. Its launch target is
/admin.
Android (Chrome)
- Open
https://goretailos.com/admin, sign in, then ⋮ menu → Install app / Add to Home screen. - Launch it from the home-screen icon — it runs full-screen without browser chrome.
iPad (Safari)
- Open
https://goretailos.com/adminand sign in. - Share → Add to Home Screen → Add.
- Launch from the home-screen icon. (iOS service workers are supported but the OS may evict cached data under storage pressure — see limitations.)
7.3 Prime the cache while online (do this once, on Wi-Fi)
The offline cache is filled the first time you actually use the POS online — so before you rely on offline mode:
- Launch the installed app while online and let the dashboard load (the service worker caches the app shell and static/theme assets).
- Open Point of Sale (
/admin/pos) and select the register. Loading POS caches the catalog — variants, prices, and a barcode index — into the browser's IndexedDB for that shop. - Leave the terminal on that shop. It's now ready to survive a network drop.
Re-open the POS online periodically (e.g. at the start of each shift) so the cached catalog, prices and barcode index stay fresh.
7.4 How offline mode works
When the browser reports no connection (or a checkout call fails):
- The terminal keeps loading from cache. Navigation falls back to the cached app shell; the product grid, search and barcode scanning run against the cached catalog and barcode index.
- Sales are computed on the device and queued in IndexedDB (database
retail-os, storepending-sales). Each queued sale carries: - a
local_uuid— the idempotency key that makes syncing duplicate-safe; - a device id and a monotonic local sequence — a stable per-till ordering even with no server round-trips;
- a client snapshot — exactly what the cashier charged (line prices, discounts, tax and total), so the server can reconcile it against current prices on sync.
- The queued amount is treated as the real amount the customer paid; the server re-validates on sync but does not silently rewrite history.
The online/offline and queued-count badges in the POS session bar show what's pending.
7.5 Reconnect and sync
When connectivity returns, the app automatically syncs every pending sale in the background:
- Sync is idempotent — retries, refreshes, or two tabs syncing the same queue never create duplicate orders, because the server keys on
local_uuid. - The server reprices authoritatively. If a price or tax rate changed while the till was offline:
- the customer-facing historical transaction keeps the amount that was actually charged offline;
- the difference is recorded as a variance rather than overwritten;
- accounting stays internally consistent.
7.6 Resolve conflicts — Offline Sync (/admin/sync)
A manager reviews anything that couldn't post cleanly. The console lists each item with its kind — Price variance, Tax variance, or Rejected — and the offline vs current values, and offers Accept, Reject or Retry per item. Cashiers see status only; owner/admin/manager resolve.
7.7 Limitations and troubleshooting
- Server actions are never cached. Auth, OAuth and server functions always require the network; only GET navigations, static/theme assets and the catalog snapshot are cached.
- New catalog data added while offline won't appear on the till until it reconnects and the POS re-caches the catalog.
- Session validity — if the login session expires while offline, queued sales stay safe and sync after you sign in again.
- iOS storage eviction — iPadOS may clear IndexedDB/caches under storage pressure; re-open the POS online to re-prime.
- Nothing loads offline / looks broken — you likely never primed the cache online (§7.3), or the app is a browser tab rather than the installed PWA. Reconnect, open the installed app, load the dashboard and POS once, then retry.
- "Update available" — closing and re-opening the app activates the newest service worker; the cache version is bumped automatically on release.
8. Inventory flows
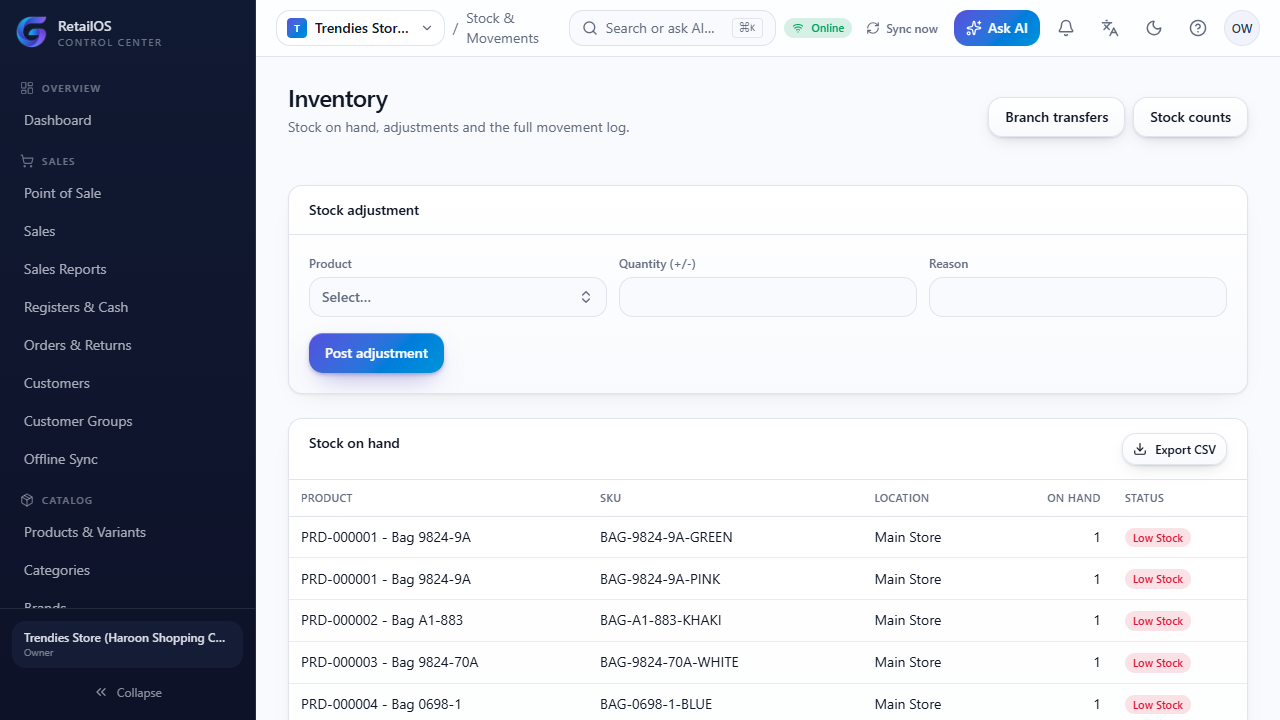
- Stock & Movements (
/admin/inventory) — balances per location, the full movement log, and manual adjustments with a reason. - Transfers (
/admin/transfers) — create a draft between locations, send it, then receive it at the destination; stock moves only on receipt. - Stock Counts (
/admin/stock-counts) — start a count, enter counted quantities, review variance, post to adjust. - Reorder points — set per variant; breaches raise low-stock alerts on the dashboard, in the notification bell, and to the AI assistant.
- Locations (
/admin/locations) and Branches (/admin/branches) define where stock lives. - Inventory Reports (
/admin/inventory-reports) — valuation, by location, low stock, dead stock, movements, adjustments and turnover, over a date range, with Print and CSV export.
Every movement is traceable, and stock cannot go inconsistent through concurrent sales, retries or offline sync.
9. Purchasing flows
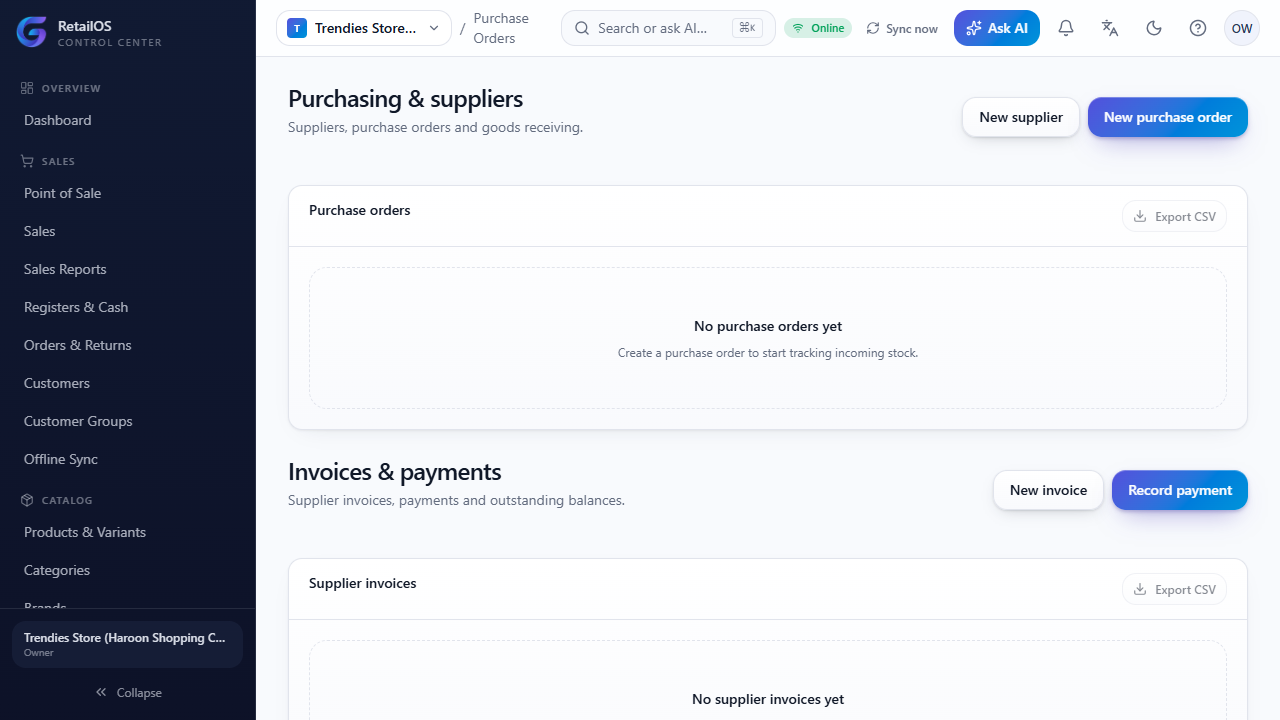
Suppliers & POs live at /admin/purchasing (suppliers also at /admin/suppliers).
- Suppliers — create suppliers with contact details and payment terms.
- Purchase order — add multiple product lines, each with its own quantity and unit cost (a running total sums the order), then send to the supplier. Click a PO to expand its line-item detail (product, ordered, received, unit cost, line total).
- Edit or cancel — while nothing has been received yet, a PO can be edited (change the supplier and replace its line items; the PO number and status are preserved) or cancelled. Once any goods have been received it's locked.
- Receive goods — receive full or partial quantities; stock increases and average cost updates. Over-receiving and duplicate receipts are guarded.
- Supplier invoice — record the invoice against the PO.
- Supplier payment — pay in full or partially; supplier balances and AP ageing update.
Purchase Reports (/admin/purchasing-reports) — PO status, supplier spend, by product, goods receipts, outstanding POs, AP ageing and cost history, over a date range, with Print and CSV export.
10. Accounting flows
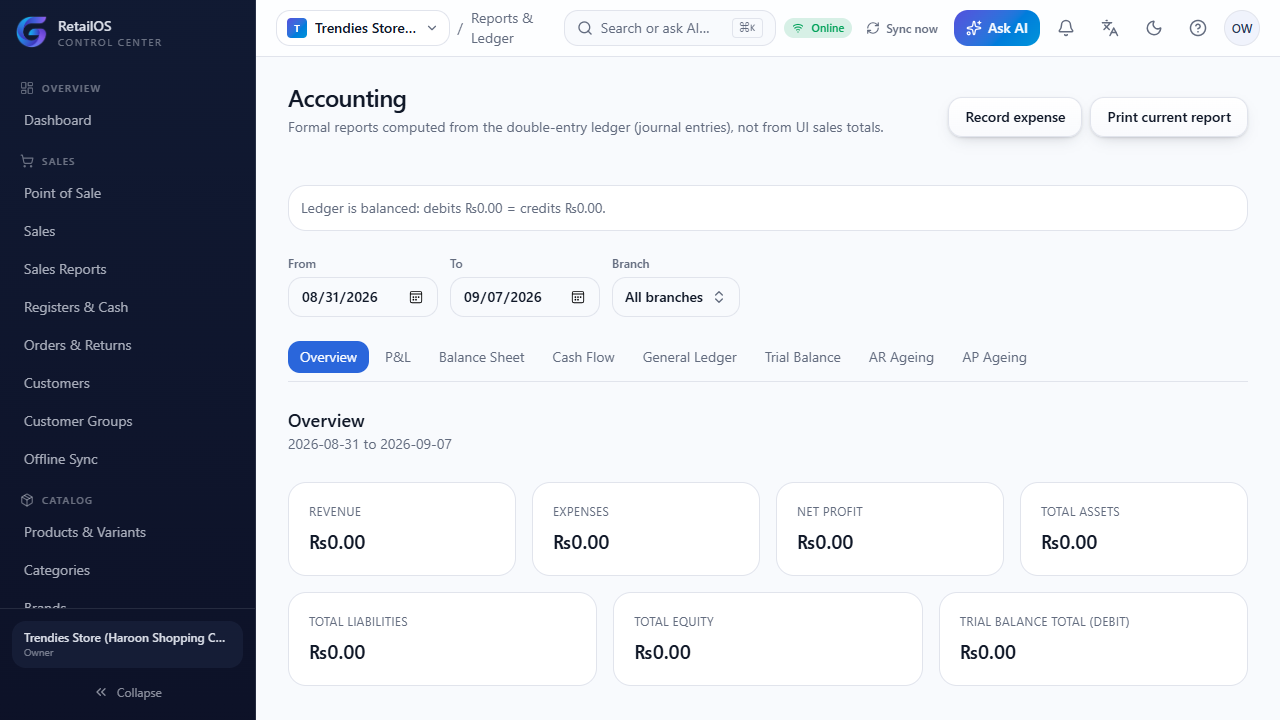
Accounting → Reports & Ledger (/admin/accounting). Journals post automatically for every sale, return, purchase and expense — no manual bookkeeping is required for ordinary trading, and every entry balances (debits = credits).
Available reports: chart of accounts (/admin/accounts), journal entries, trial balance, general ledger, profit & loss, balance sheet, cash flow statement, AR ageing and AP ageing. Expenses and expense categories (/admin/expense-categories) are recorded here too. All reports derive from posted accounting data and respect the selected period.
11. Storefront (customer-facing)
Your store lives at /store/<shopSlug> — demo: /store/<shopSlug>. It runs on its own responsive design system, built to be fully usable from a 375px phone up to a 1440px desktop.
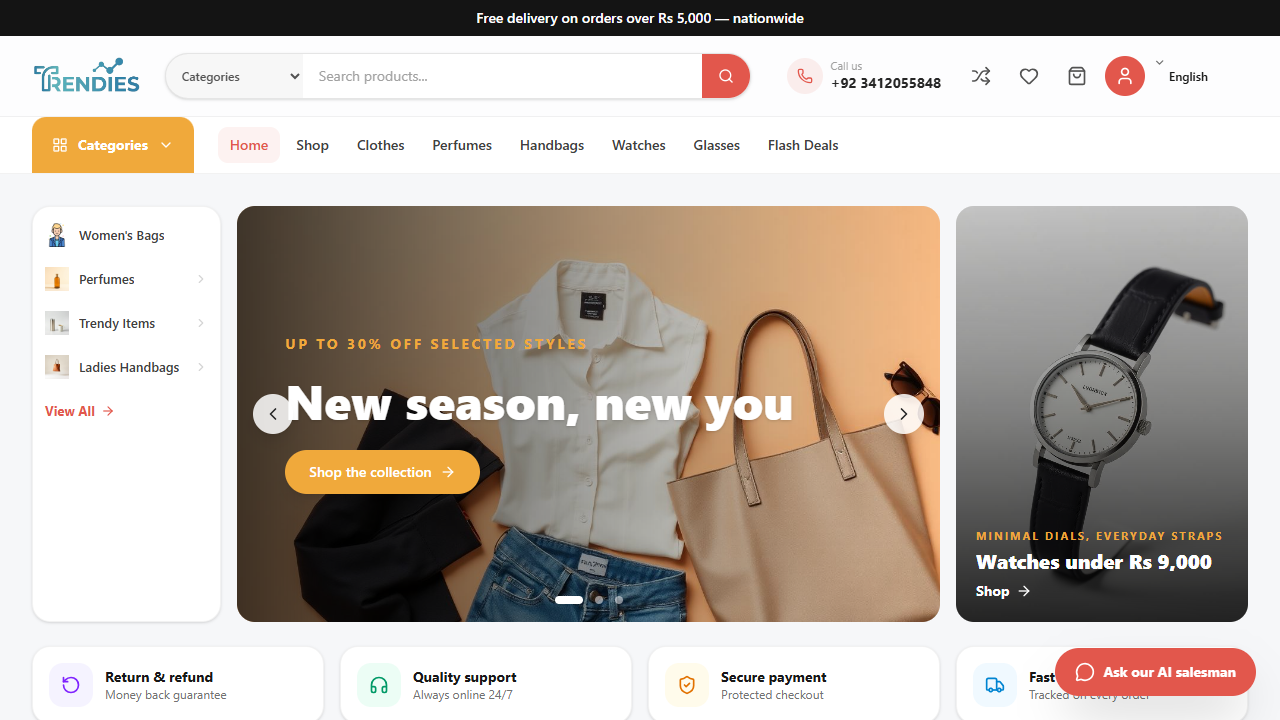
11.1 Look and feel — branded by default, customizable, resettable
- Default palette. Out of the box the storefront uses primary blue
#0A69D8, accent orange#ffa500and a light neutral page. No shop-specific colours are applied unless you deliberately set them. - Customize in the Storefront editor (
/admin/storefront→ Theme): primary/secondary/accent/text/background colours, font, logo, favicon, tagline, announcement bar, hero, and social links. Changing one colour re-brands the whole storefront — every button, badge, price and focus ring reads the same variables. - Reset to default — a button on the Theme tab restores the default palette and font at any time (colours/font only; your hero, social and SEO content are untouched). Save the draft, then Publish.
- Edits are staged as a draft with a live preview panel; nothing goes live until you Publish.
- Every page is responsive. On phones the category menu, mini-cart and shop filters open as slide-in sheets, product grids drop to two columns, and order/comparison tables become cards — nothing scrolls sideways.
11.2 Customer pages (demo slug <shopSlug>)
| Page | Link |
|---|---|
| Home | /store/<shopSlug> |
| Shop all / filters | /store/<shopSlug>/shop |
| Category | /store/<shopSlug>/category/<slug> |
| Product | /store/<shopSlug>/product/<slug> |
| Flash deals | /store/<shopSlug>/flash-deals |
| Cart | /store/<shopSlug>/cart |
| Checkout | /store/<shopSlug>/checkout |
| Wishlist | /store/<shopSlug>/wishlist |
| Compare | /store/<shopSlug>/compare |
| Track order | /store/<shopSlug>/track-order |
| Account portal | /store/<shopSlug>/account |
| Sign in / up | /store/<shopSlug>/sign-in · /sign-up |
| About / Contact | /store/<shopSlug>/about · /contact |
11.3 What customers can do
- Browse the shop, categories and brands; filter and sort. Opening a category shows its products including all sub-categories, so top-level categories are never empty when their children have stock.
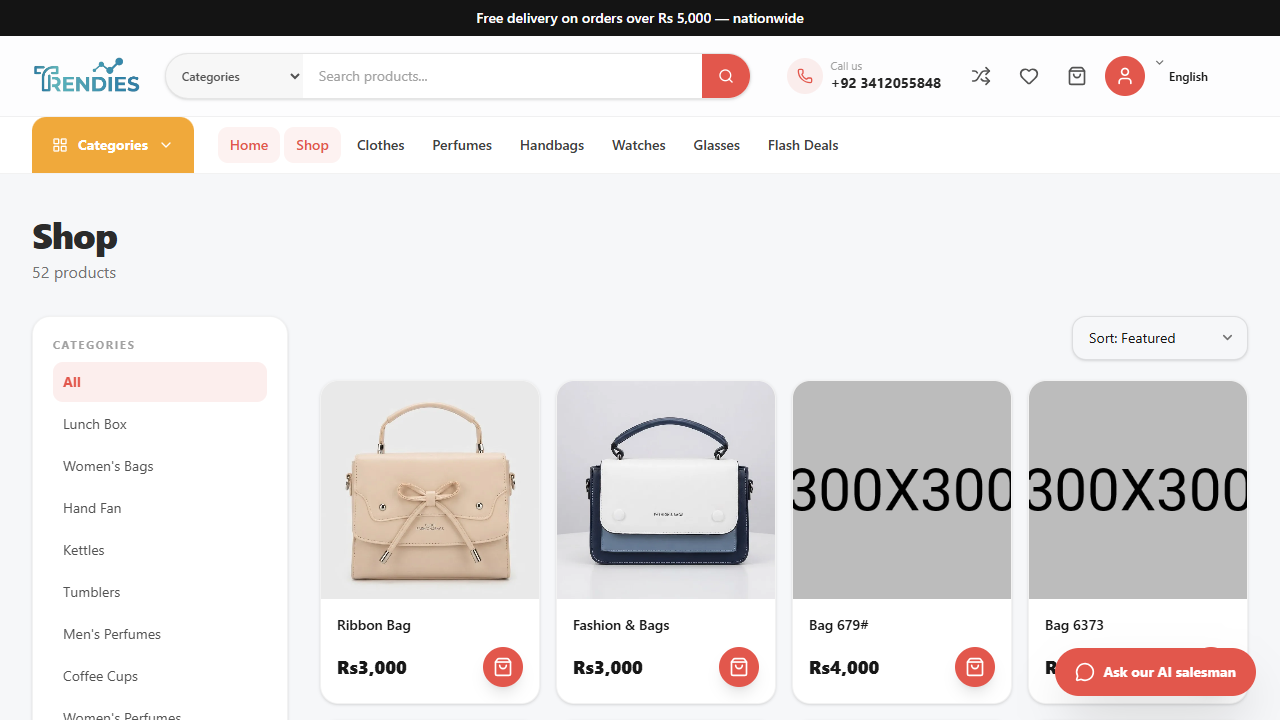
- Every category always shows an icon (its own image, or a theme fallback if none is set).
- Open a product, pick a variant, and see live price and stock.
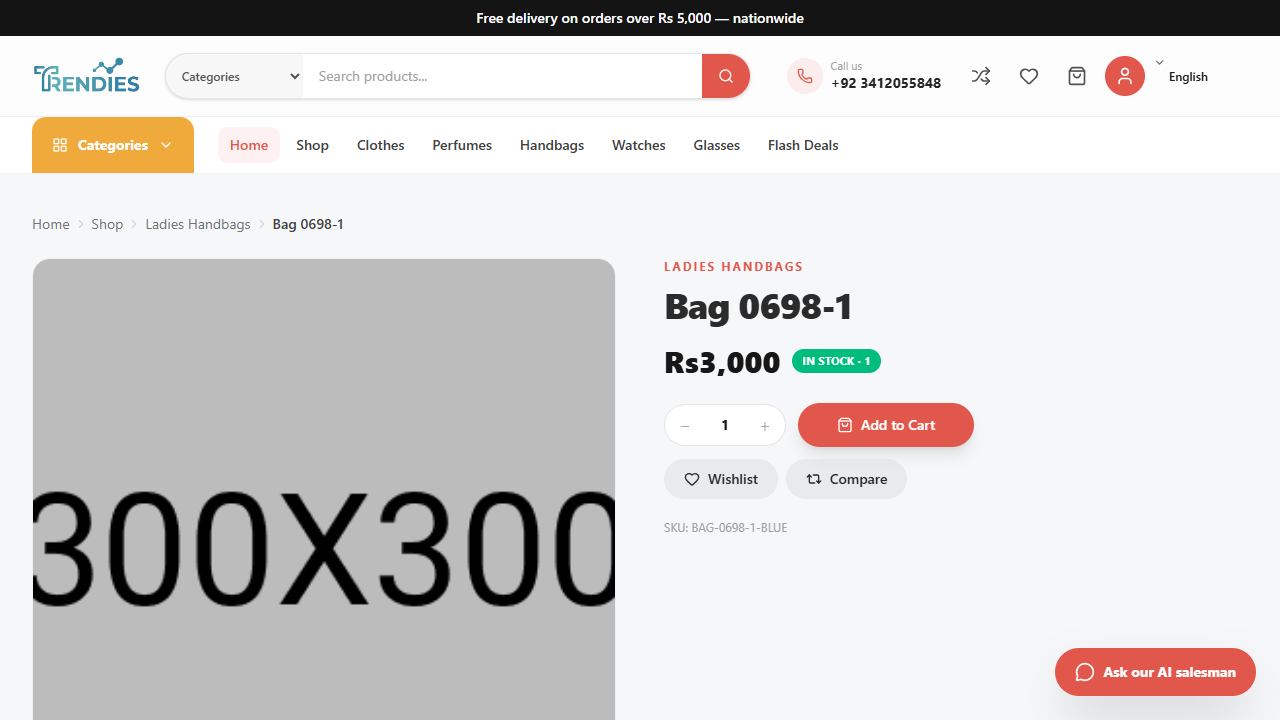
- Add to cart, wishlist or compare. The mini-cart is a slide-in panel.
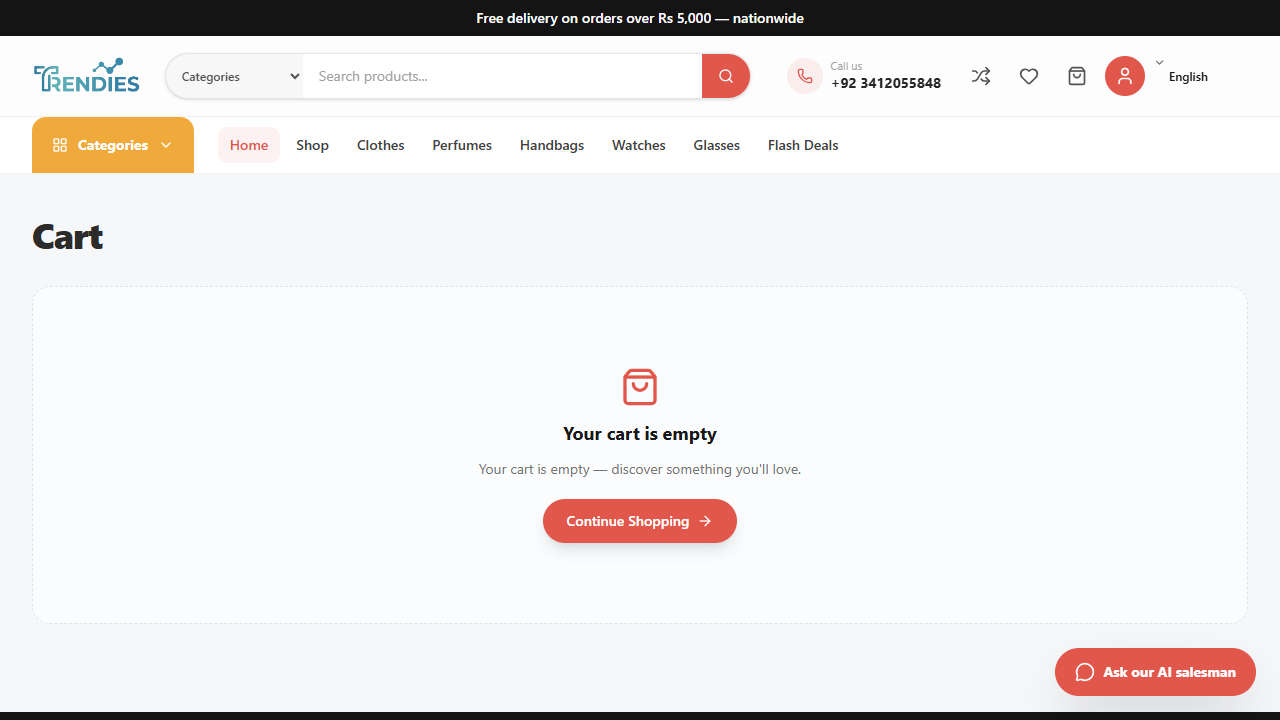
- Check out as a guest or signed in — a real order is created with inventory and ledger entries.
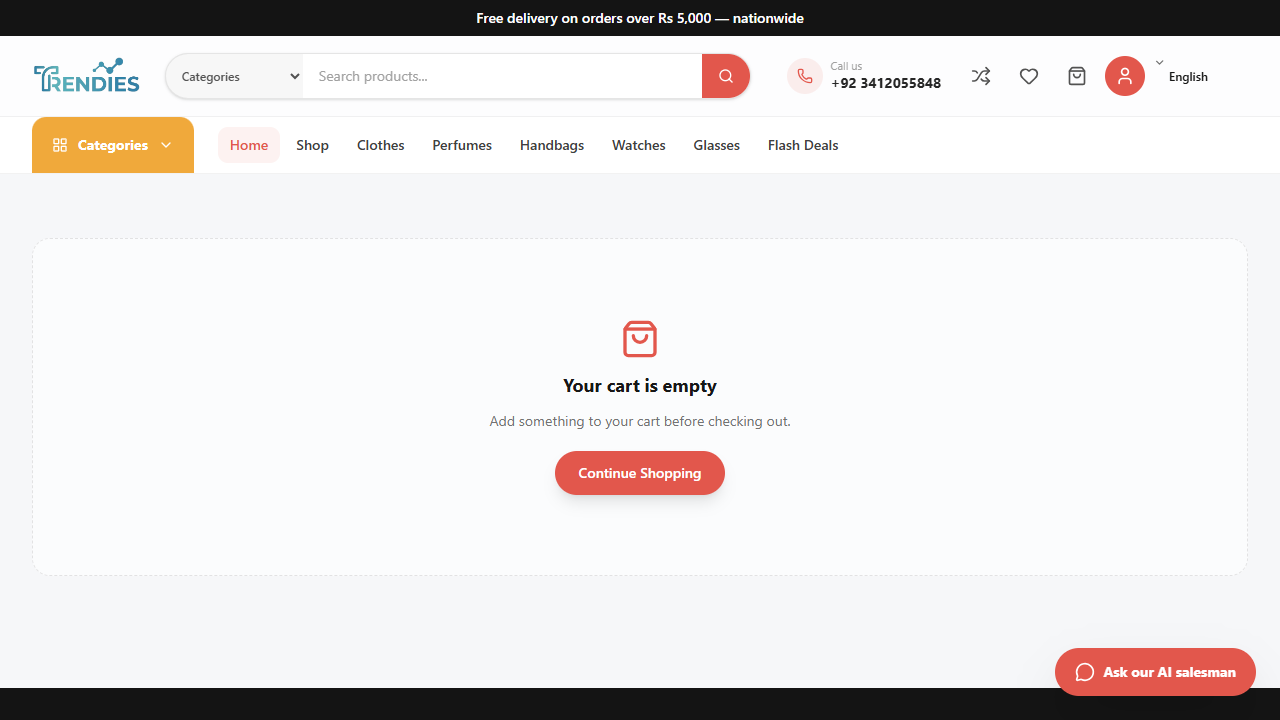
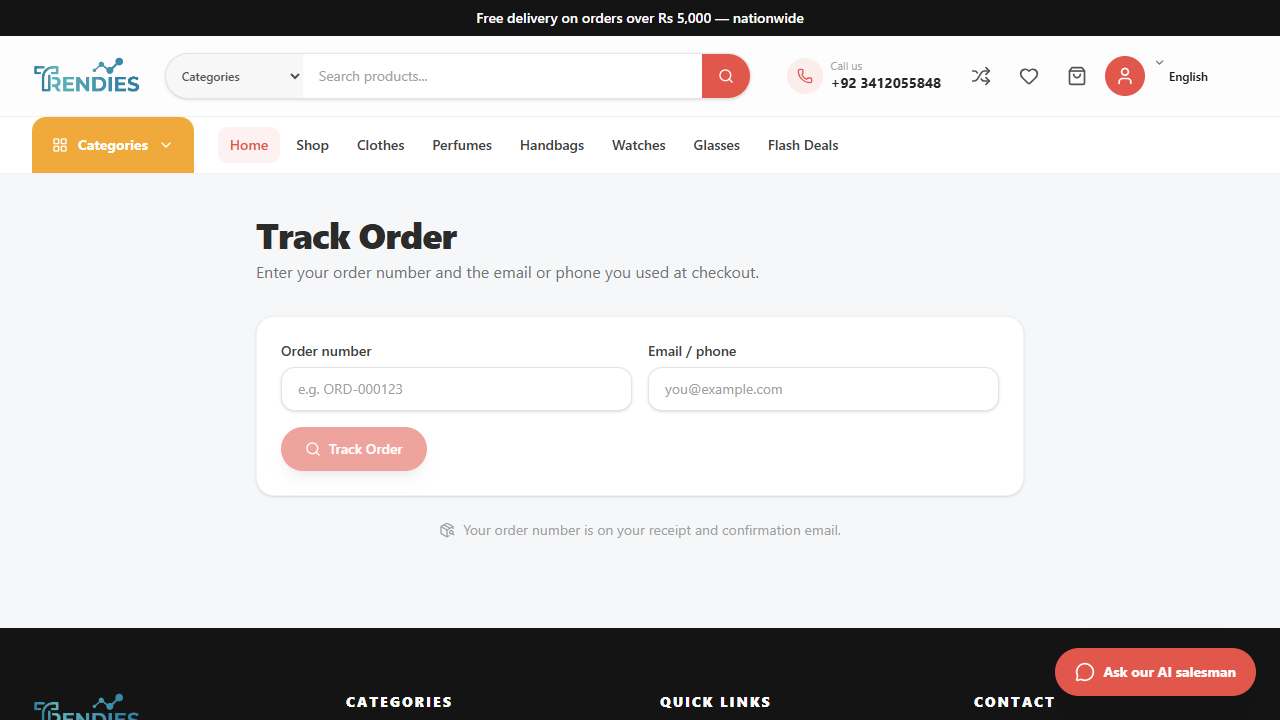
- Track an order by order number + contact.
- Account portal (signed in): profile, saved addresses, order history and wishlist.
- Language & currency — switch between English, Arabic, Urdu and Hindi (RTL supported for Arabic/Urdu); prices show in the shop's currency and format.
- AI Salesman — ask anything from any page, without signing in.
The public storefront never exposes cost prices, supplier data, internal inventory movements, employee data or other shops' information.
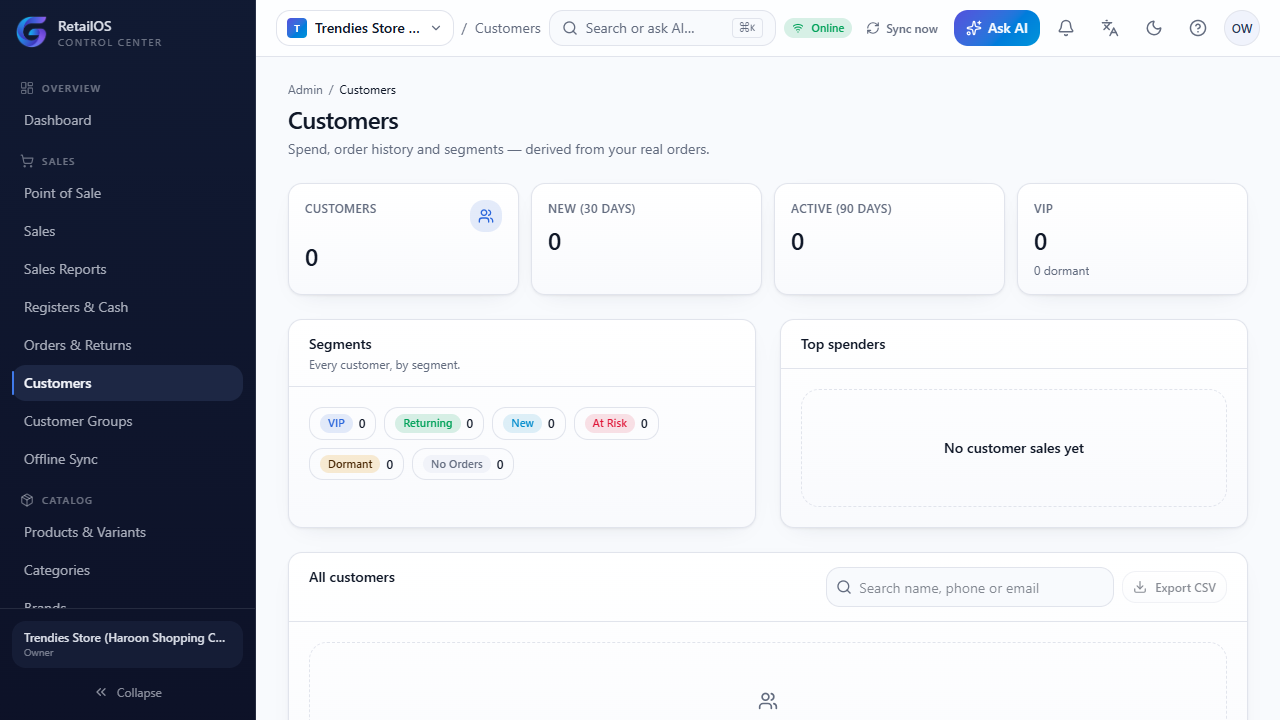
Customer directory (admin). Staff with the right role can view and manage the shop's customers — balances, credit limits and contact details — from the admin Customers screen.
11.4 Connect a custom domain
A shop can serve its storefront on its own domain instead of the /store/<shopSlug>/ path. Add and manage domains in the Storefront editor (/admin/storefront → Domains).
- Clean root URLs. On a connected domain the store lives at the root —
https://yourstore.com/,/product/<slug>,/cart,/checkout— with no/store/<slug>/prefix. The original/store/<shopSlug>/…URLs keep working. - One domain, one shop. A domain is globally unique to a shop; unknown or unverified hosts never resolve. If a shop has more than one domain, the secondary ones 301-redirect to its primary.
- Setup. Add the domain → point DNS (an A record →
185.158.133.1plus a_lovableTXT record) → the platform verifies it and issues SSL → Mark verified → optionally Make primary. Registrar-by-registrar instructions are in the in-app guide at/admin/domain-setup.
12. AI
AI Salesman (storefront — customers and guests)
Answers about the catalog, checks stock and price, recommends products, proposes cart contents, and quotes shop info and policies — all restricted to that shop's data, and always through secure backend tools (it never mutates the database directly from the browser). It can also filter the catalog by price, category or on-sale, surface product reviews, and answer questions about accepted payment methods and categories. Available on every storefront page, e.g. /store/<shopSlug>.
AI Business Assistant (admin) — /admin/ai
Ask about sales summaries and period comparisons, product performance and margins, inventory and reorder status, financial summaries, purchasing and alerts. It reasons over real signals — low stock, reorder needs, dead stock, receivables, margins — not invented numbers.
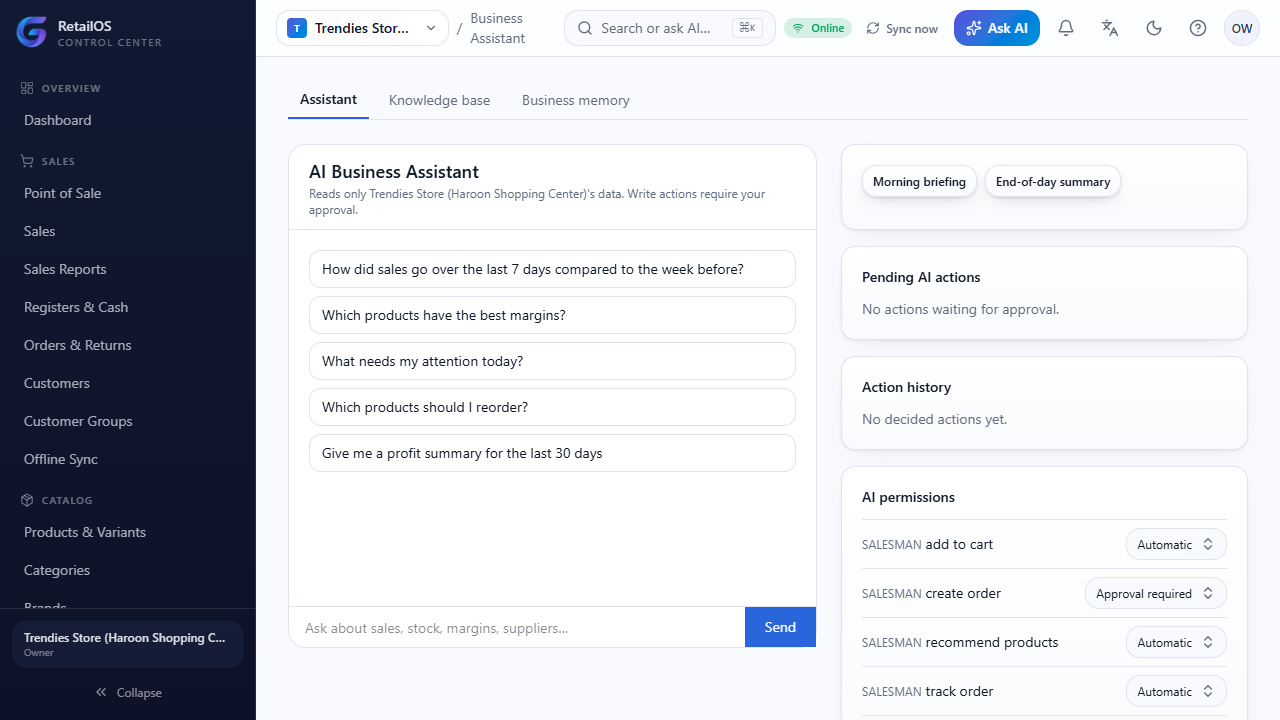
- Proactive — a morning briefing and an end-of-day summary appear on the dashboard.
- Knowledge base — upload documents; they're chunked and indexed for retrieval, isolated to your shop, and answers cite their sources. Document contents are treated as untrusted data (no prompt-injection bypass of permissions).
- Business memory — durable facts and preferences the assistant should remember; a manager approves each one before it's used. Ordinary conversation does not silently become durable memory.
- Actions — the assistant can also do things, not just report: create a purchase order, adjust inventory, record an expense or a payment, generate a report, create a supplier invoice, and draft a message. A per-shop permission matrix sets each capability to disabled, requires approval or automatic. Anything needing approval lands in the approval queue; the result or error is recorded.
13. Administration
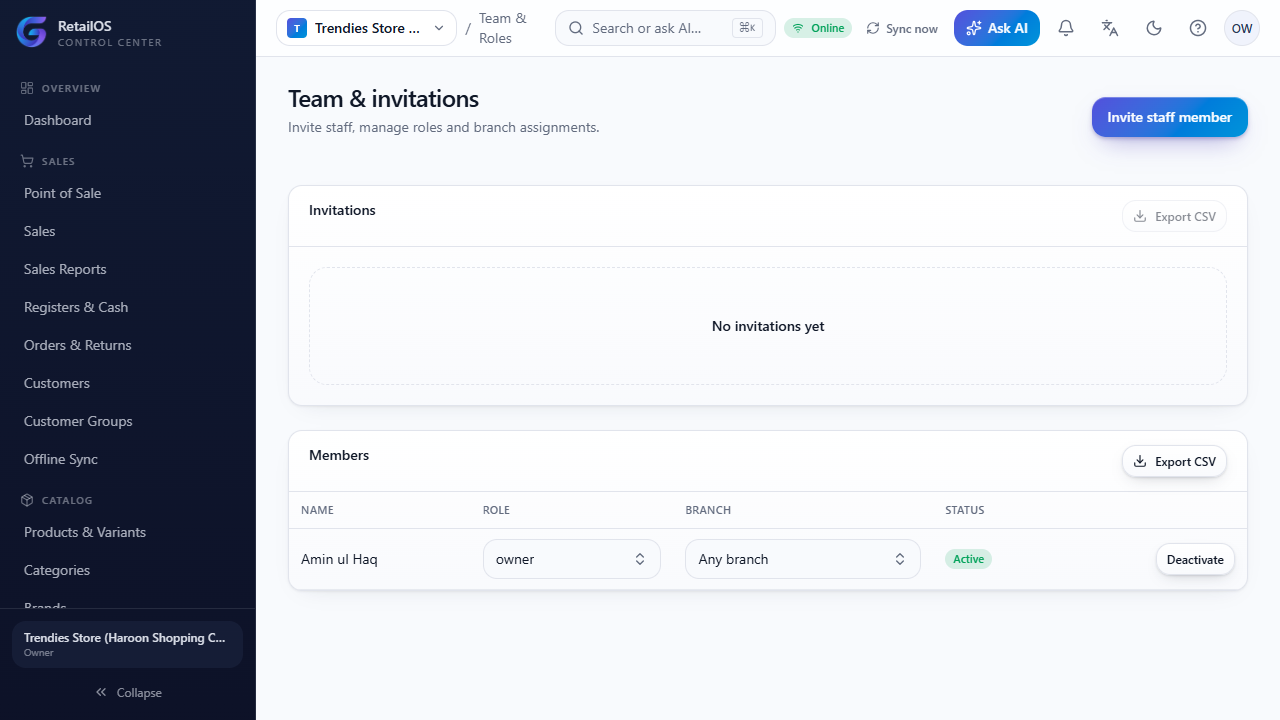
- Team & Roles (
/admin/team) — invite, assign roles, bind staff to a branch, deactivate members.
- Audit Log (
/admin/audit) — who changed what, with before/after diffs; ordinary users cannot alter it. - Data Manager (
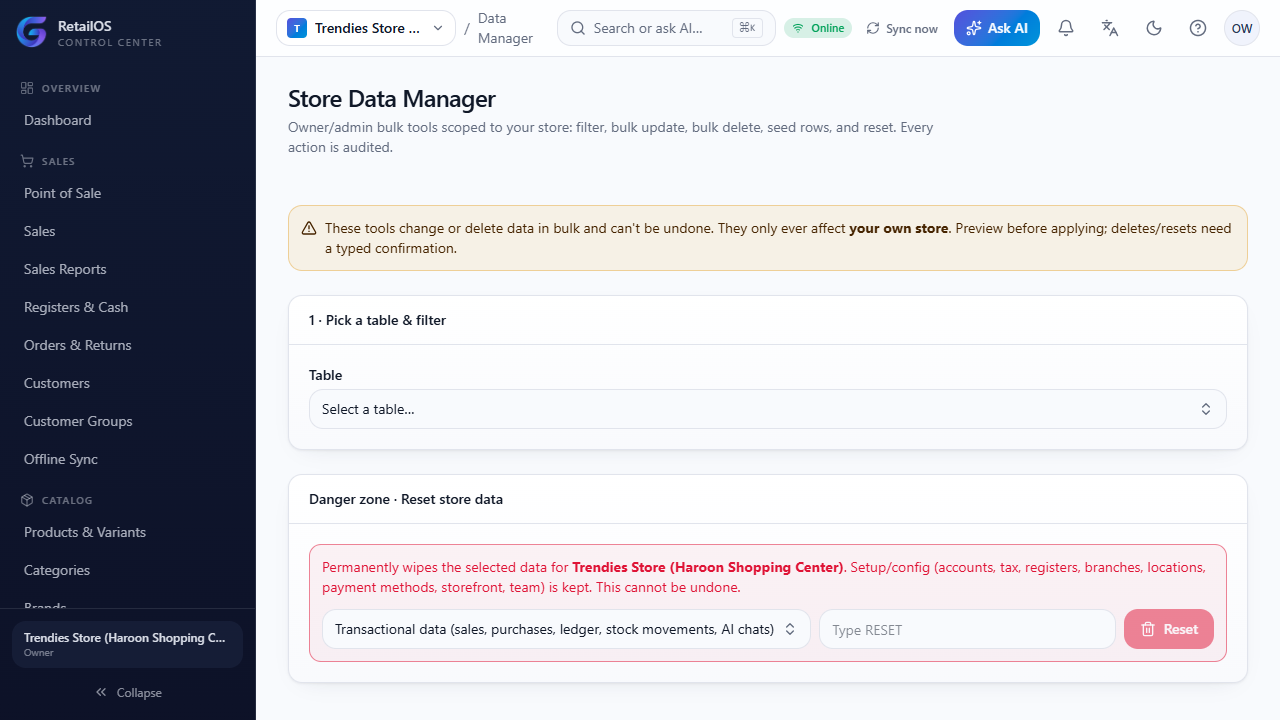
/admin/data-manager) — owner/admin bulk data tools for your own store: pick a table, build filter conditions (with a Match ALL/ANY toggle and a compiled-query preview), Preview the matching count, then bulk update, bulk delete (typeDELETE), or insert/seed rows from JSON or CSV. Deletes blocked by related records open a recursive foreign-key resolver (delete or unlink down the chain). Reset (owner-only) wipes transactional, catalog & CRM, or everything while keeping setup/config (typeRESET). Bulk actions are capped at 50,000 rows, never touch another store, and are fully audited.
- Shop Settings (
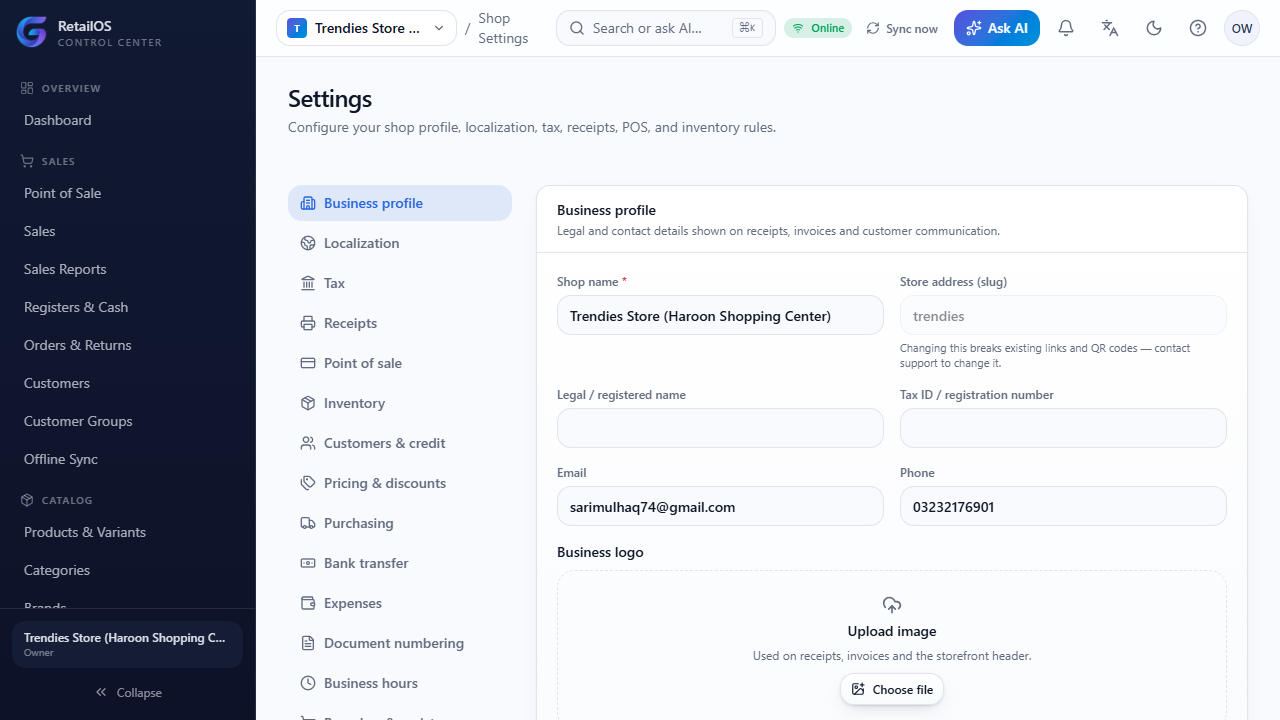
/admin/settings) — sectioned: shop identity, tax, inventory (including who may oversell into negative stock), pricing, purchasing, customers (including credit / udhaar permissions and default limit), receipts and document numbering, payments (/admin/payments), notifications, business hours, AI permissions, and localization (currency, timezone, languages, RTL).
14. Direct links (quick reference)
Auth & setup: Sign in · Onboarding · Reset password
Sales: Dashboard · POS · Sales · Sales Reports · Registers · Orders & Returns · Offline Sync
Catalog: Products · Categories · Brands · Attributes · Tax · Labels · Import
Inventory: Stock & Movements · Transfers · Stock Counts · Inventory Reports · Locations · Branches
Purchasing: Suppliers & POs · Purchase Reports · Suppliers
Accounting: Reports & Ledger · Accounts · Expense categories
Storefront & AI: Storefront editor · AI assistant · Live store (demo)
Administration: Team & Roles · Audit Log · Shop Settings · Data Manager · Payments
15. Typical day-in-the-life
Cashier — sign in → open the installed POS app → open a cash session with a float → sell all day (scan, split payments, print receipts, handle returns) → if Wi-Fi drops, keep selling (sales queue) → when it returns, sales sync automatically → close the session with counted cash.
Manager — dashboard for KPIs and alerts → resolve any offline-sync variances → check low stock → raise purchase orders → run a stock count → ask the AI assistant how the week went.
Accountant — orders and purchasing for the period → record expenses → run P&L, balance sheet, cash flow and AR/AP ageing.
Owner — everything above, plus team and roles, shop settings, storefront theme and content (including Reset to default), audit log, and AI permissions.
Customer — browse the store or ask the AI Salesman → add to cart → checkout → track the order → manage addresses and view order history in the account portal.